DIY Polka Dot Napkins and an Easy Way to Fold Them
With Thanksgiving effectually the corner (whaa? How did that happen?!), many of us are beginning to give some brain power to an upcoming Thanksgiving meal. Typically, this involves a fine dining experience that involves enough of family and gratitude. If you're hosting this yr or are simply looking for a not bad dining table setting addition, these DIY polka dot napkins might be merely the matter.
 View in gallery
  View in gallery
 I volition warn yous; if you lot're starting from scratch like this tutorial shows, these aren't the fastest DIY projection. But if you utilise some existing napkins and simply utilize the polka dot idea to add a bit of festive appeal, it'll speed up your process a great bargain. Permit'south begin.
 View in gallery
 DIY Level: Beginner
 View in gallery
 Materials Needed:
- Fabric for napkins
- Matching thread
- Gold acrylic paint
- Small (1/ii" or 3/iv″ recommended) foam pouncer
 View in gallery
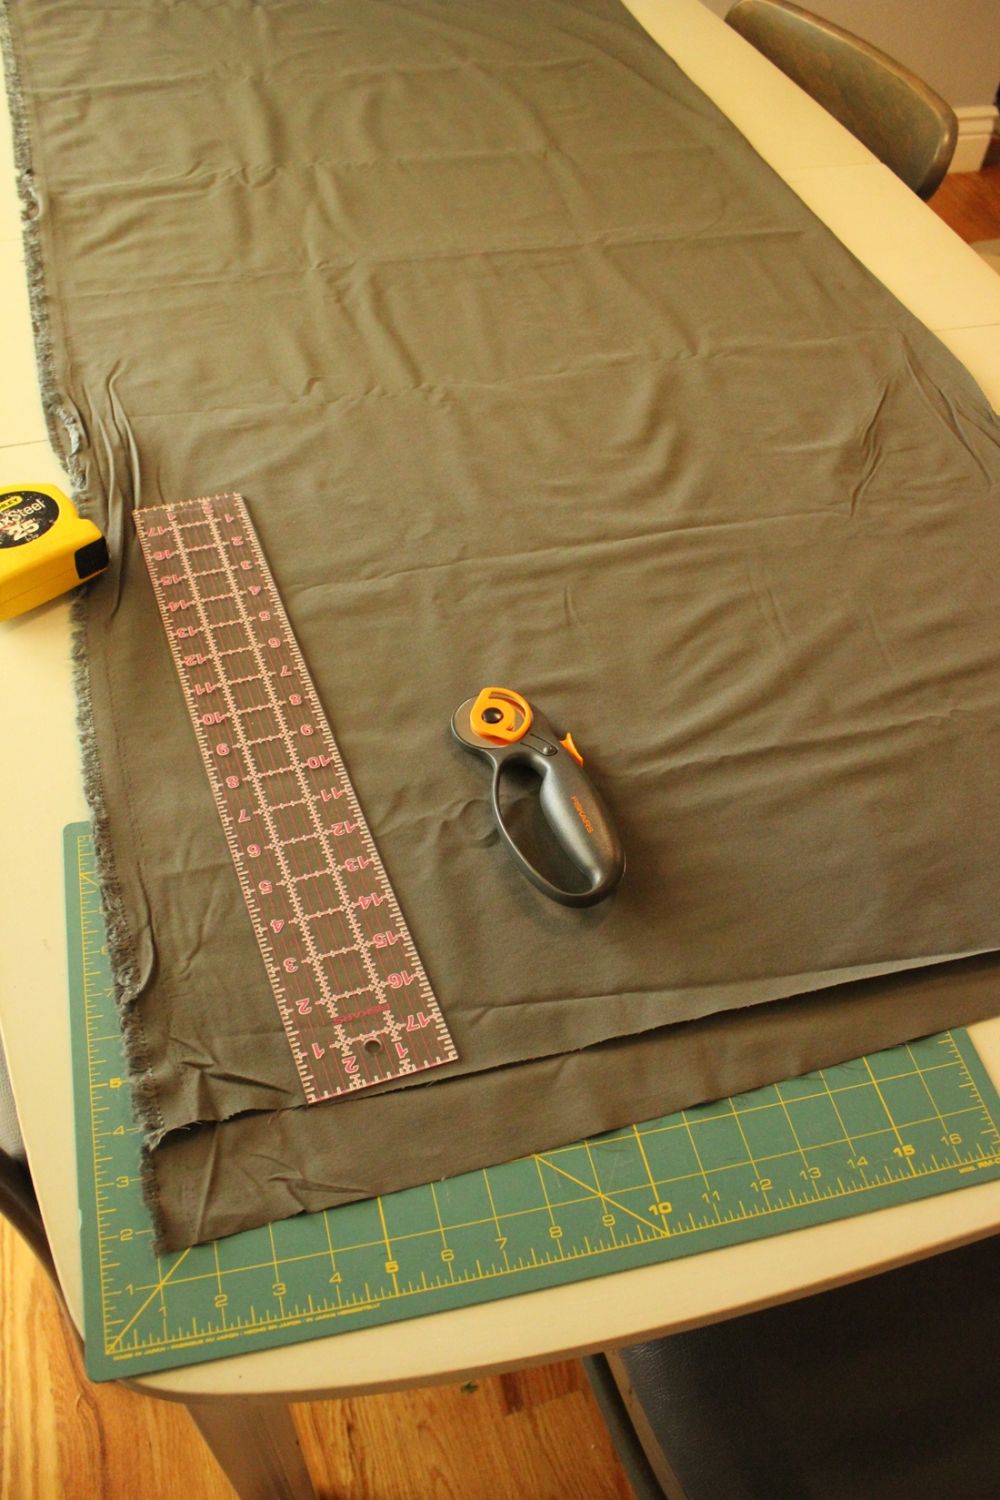
 Begin by laying out the fabric on a large flat surface. Friction match selvedge edges perfectly.
 View in gallery
 Measure to determine how many napkins you lot can brand with your material (standard dinner napkins can exist xvi" to 18" finished; formal dining napkins can be around 22"). Likewise, square off the raw edge at this bespeak.
 View in gallery
 For eighteen" square napkins, mensurate nine" from the folded middle bespeak of your fabric. This volition be your first cut line.
 View in gallery
 Employ a rotary cutter to cut your material at the 9" mark (away from the folded middle), so mensurate 18" from the raw edge and use a rotary cutter to cutting a 90-degree border from the fold to the kickoff cut.
 View in gallery
 Yous've got your outset napkin cut out. Now employ the residual of your fabric to cutting more 18" square pieces, outset with the fabric between your first napkin and the selvedge of that same department.
 View in gallery
 Afterwards you've cut out equally many napkins as y'all want for your set, you lot're ready to give the napkins their spots.
 View in gallery
 Place a slice of cardboard or drop cloth downward on your work station. The paint could bleed through the fabric, depending on how loose the weave of your fabric is, so y'all'll desire to protect your work surface.
 View in gallery
 Grab your gold acrylic paint. You lot could besides employ specialized material pigment for this project, although acrylic paint never comes off material, so it's a smashing less-expensive choice.
 View in gallery
 Determine how big yous want your polka dots. One proposition is to proceed the size of your polka dots and the size of your project proportionate – for napkins, a smaller foam pouncer is more often than not a better idea than a very big one. But this, of course, depends on the overall look you're going for. Do what you desire with this, really.
 View in gallery
 Fill a disposable plastic hat with your paint, and dab your pouncer into the pigment. Yous'll want to brand sure in that location is paint on the entire foam circle.
 View in gallery
 Starting in 1 corner, begin making pigment polka dots.
 View in gallery
 Play effectually with what works for yous and your fabric. Yous might find that you can get 4 or five good circles out of each paint-dab, or yous may find that it'south easier for you lot to dab the pouncer in paint subsequently each polka dot. Whatever works for you to create filled in polka dots the best.
 View in gallery
 At that place's no set blueprint to this; go with what seems all-time for your specific polka dots every bit far as white space between them. Let paint dry thoroughly…and so let them dry out some more. Yous desire these guys completely dry earlier moving on to the pressing.
 View in gallery
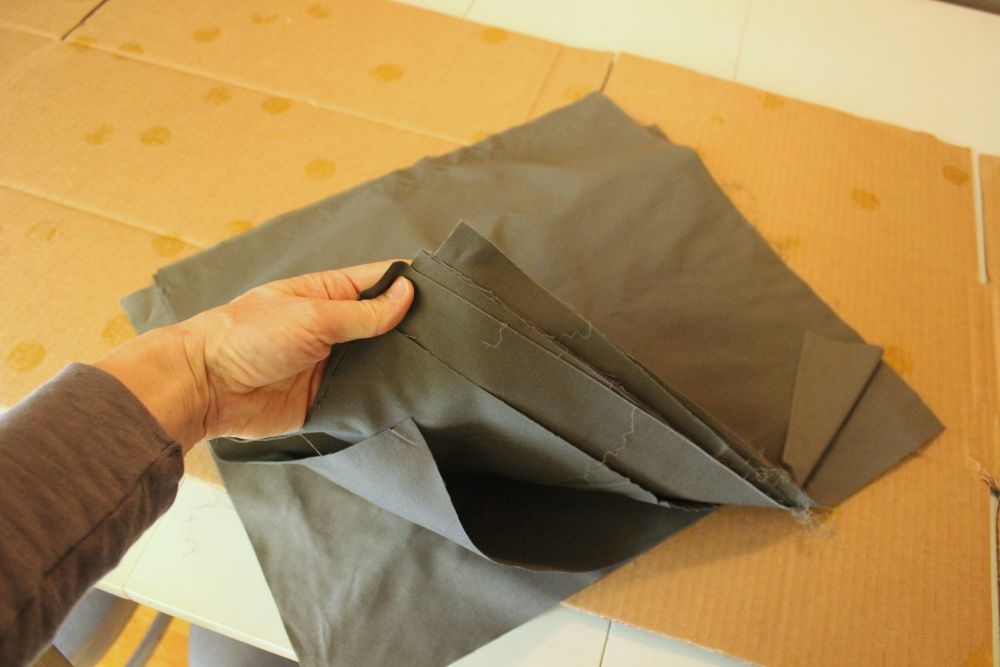
 Heat an iron to the setting that is appropriate for your fabric. One method is to fold over all the raw edges well-nigh 1/2″ and press them.
 View in gallery
 The corners will look something like this with this method. Y'all'll want to turn the edges in one more time before sewing.
 View in gallery
 Fold the edges over and press. The napkin edges can be sewn in place like this for a quick method; however, chances are the corners won't exist as crisp as they could be with this method.
 View in gallery
 A second option is to fold and press each corner in 1".
 View in gallery
 Lay the napkin, right-side down, on the ironing board. (Endeavor non to be jealous of this decades-former atomic number 26 board cover. I know information technology'south hard. Just try.)
 View in gallery
 Fold the raw edge up about 1/two″ and press.
 View in gallery
 Fold that edge up another 1/2" and press.
 View in gallery
 You can see here that the raw edge is completely "tucked" inside the pressed edges. Repeat for the other three sides of the napkin.
 View in gallery
 Your corners will be much crisper with this method.
 View in gallery
 With the edges of your napkins pressed into place, caput down to your sewing machine and stitch them in place.
 View in gallery
 I love nicely connected corner, don't y'all?
 View in gallery
 With your stack of finished napkins in place, it's time to fold them in such a elementary mode that it hides any corners from sight.
 View in gallery
 First, lay your napkin right-side down on the table.
 View in gallery
 Fold the top half of the napkin downwards at the slightly-less-than-half marker.
 View in gallery
 Fold in the two side edges, leaving a small gap between the ends in the center and so they don't agglomeration up when you fold the napkin one more time.
 View in gallery
 Fold the napkin i more than fourth dimension at the heart line.
 View in gallery
 The seams are staggered and corners tucked away with this folding method, which is why I like it.
 View in gallery
 With fantastically festive polka dot napkins such as these (gold, fifty-fifty!), it's time to get a table gear up and a party started, wouldn't y'all say?
 View in gallery
 I wish I had people over the age of 10 joining me this afternoon, but they'll feel special anyway. That'southward what counts, correct?
 View in gallery
 The smaller polka dots on these napkins, with closer spacing, looks nice because it allows for enough of polka dots to show when the napkin is folded. Larger polka dots or ones that are further apart would mean less gold polka dottage.
 View in gallery
 Darker napkins are an interesting, grounding, and fairly unexpected improver to a lighter tablescape.
 View in gallery
 We promise you enjoy creating your own DIY polka dot napkins for the upcoming vacation season…and that they get plenty of use.
Source: https://www.homedit.com/polka-dot-napkins/
0 Response to "DIY Polka Dot Napkins and an Easy Way to Fold Them"
Postar um comentário